Here’s a quick guide of how to remove broken off studs or bolts from a cylinder head. The method will usually work on most aluminium or steel castings, although quite often the studs will be hard and difficult to remove.
What you’ll need:
(ideally) a milling machine, although a good sized pillar drill may do the job.
Selection of 2 fluted end mills / slot drills. One wants to be the exact same side of the stud to be removed, others need to be smaller.
Clamps and packing to hold the cylinder head / casting in position.
Tap to clean out the threaded holes once broken stud is removed.
PPE (gloves, goggles etc)
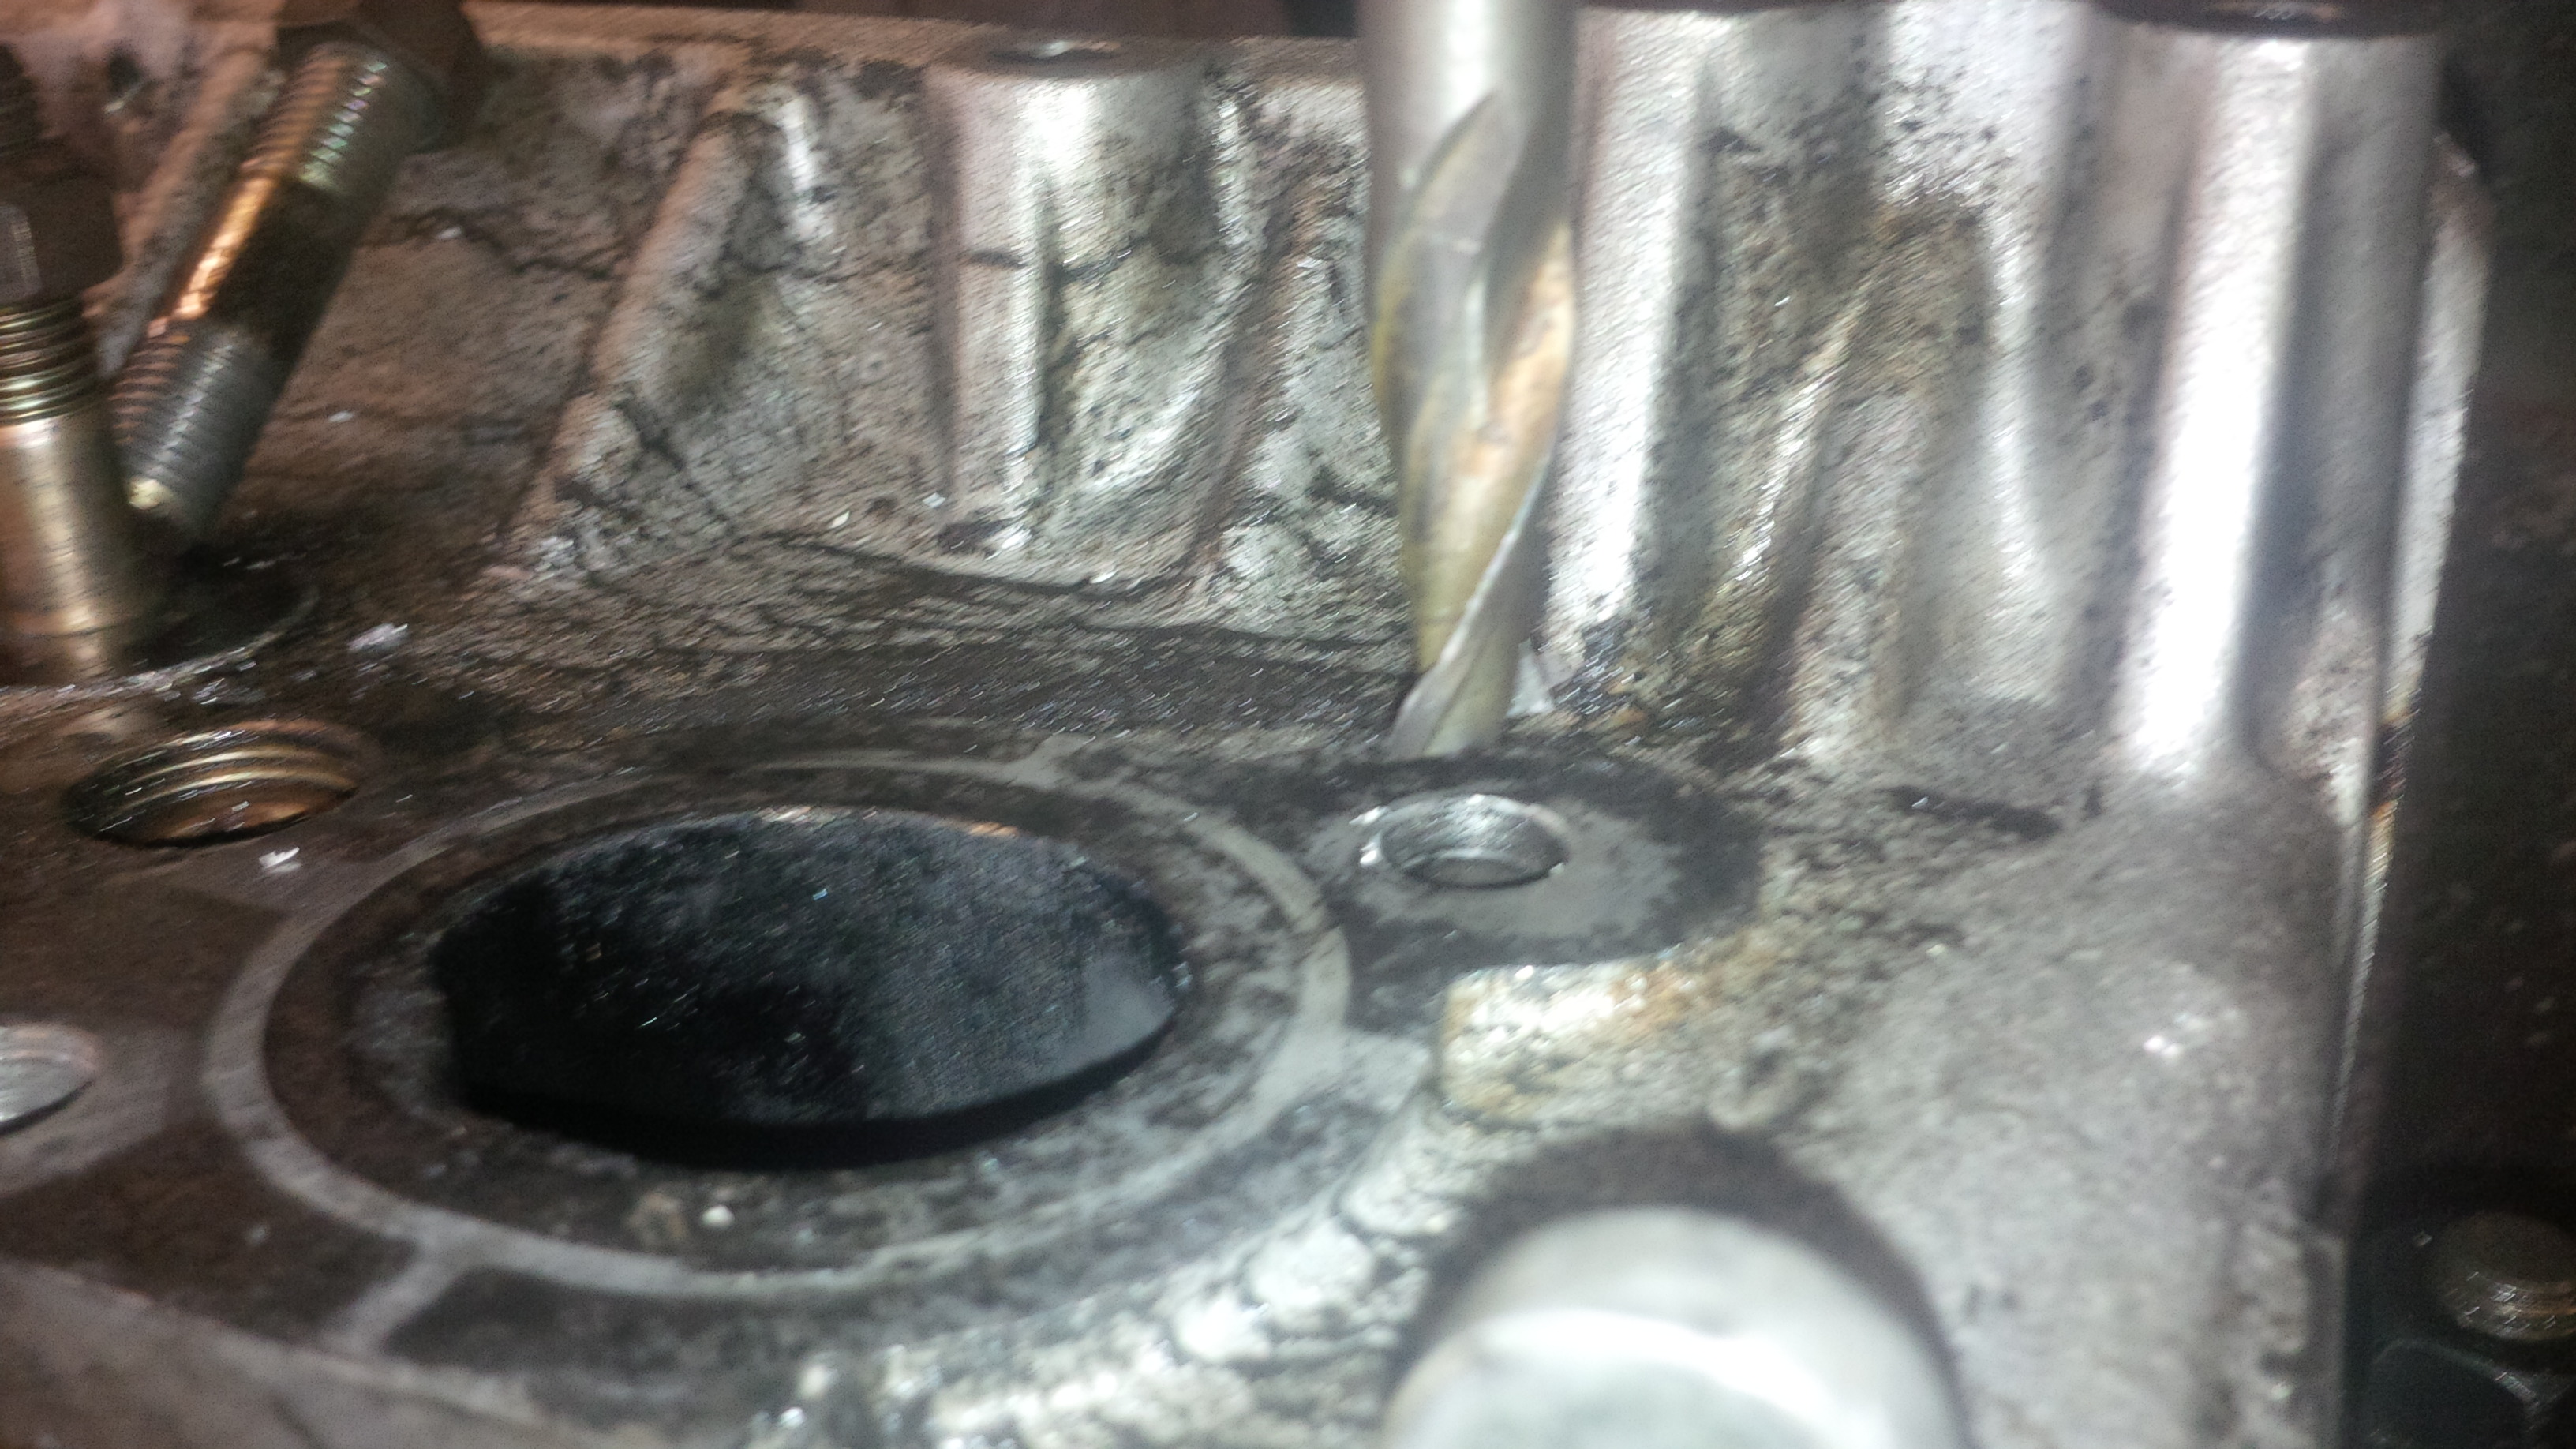
The first job is to get the head mounted squarely, level and securely. This is the most critical part of the process. Reasonably easy on a milling machine as you can move the table around once it is secure, but on a pillar drill may take some jiggling around. If the head is a funny shape, this is where you’ll need the packing to ensure the milling cutter will follow the same angle as the stud.

Once the cylinder head is mounted securely, put the cutter which is the same diameter as the stud into the mill / drill chuck, and use this to centre the cutter with the stud. Check it a few times, as the next part is the point of no return! Once you are happy with positioning, lock the table so it cannot move. If you have a milling machine with DRO, zero the display so you can see if it moves. Before proceeding with the next step, grab the head and give it a good shake to make sure it doesn’t move.
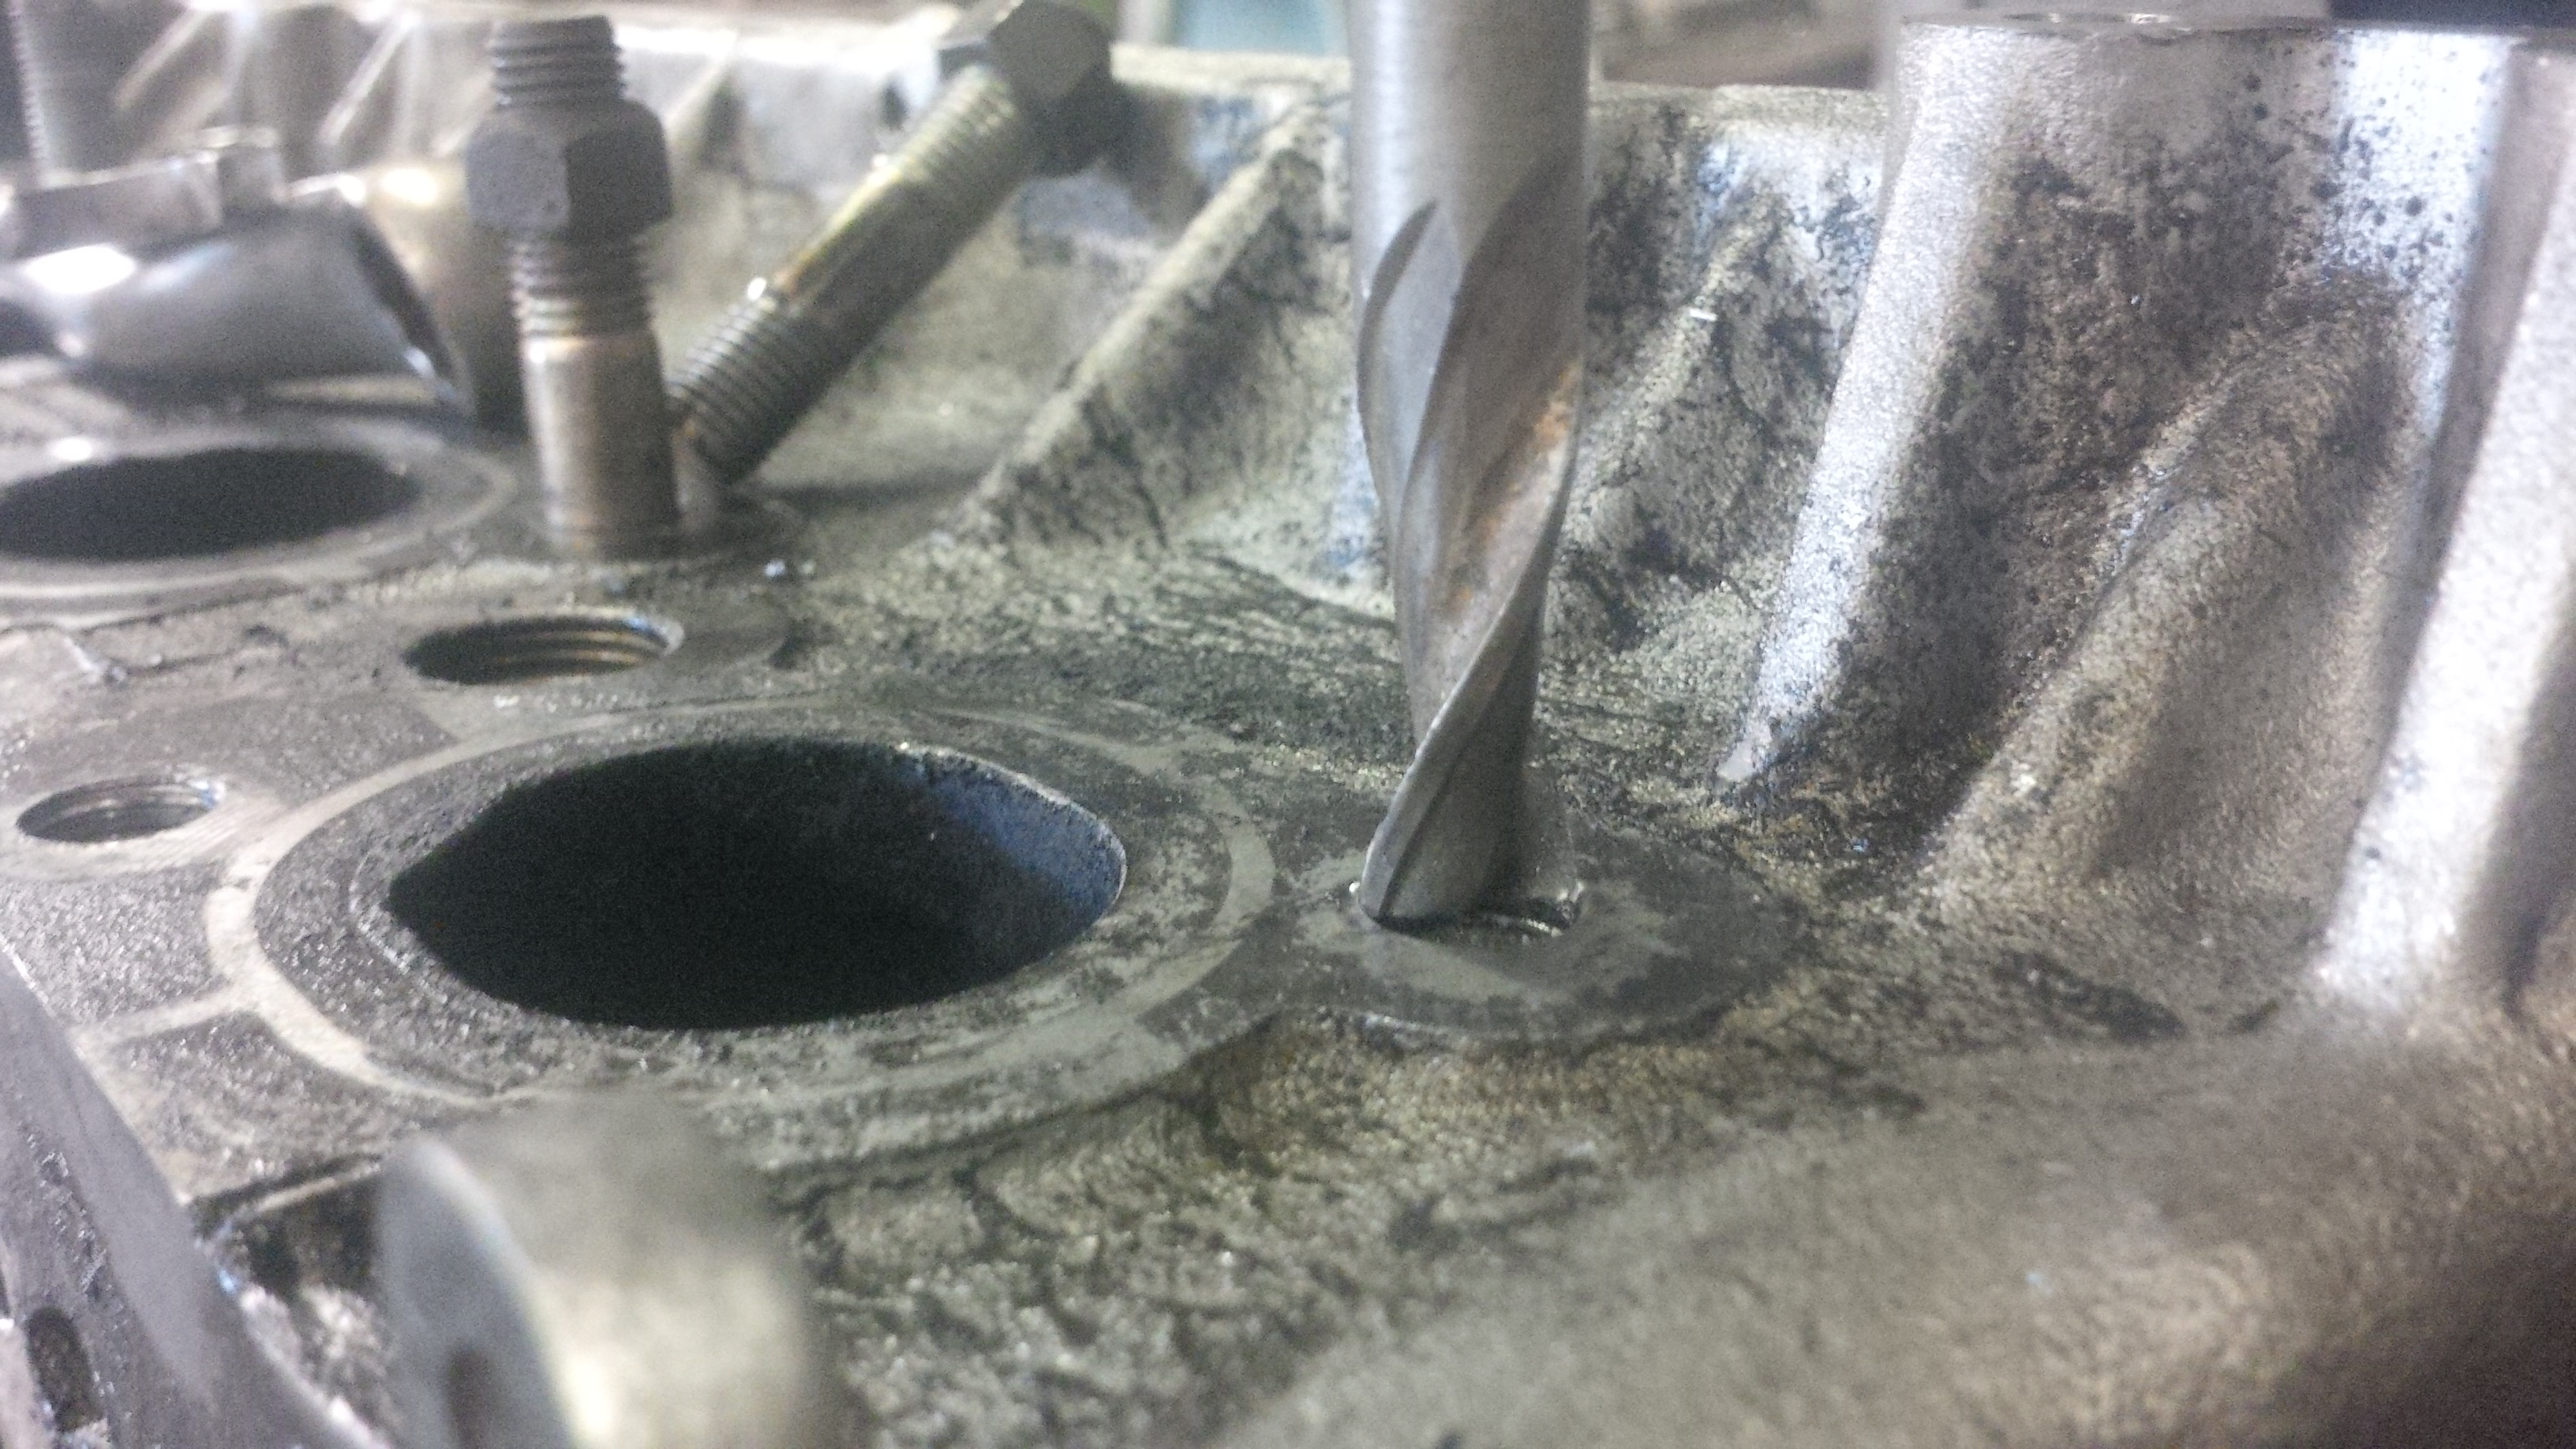
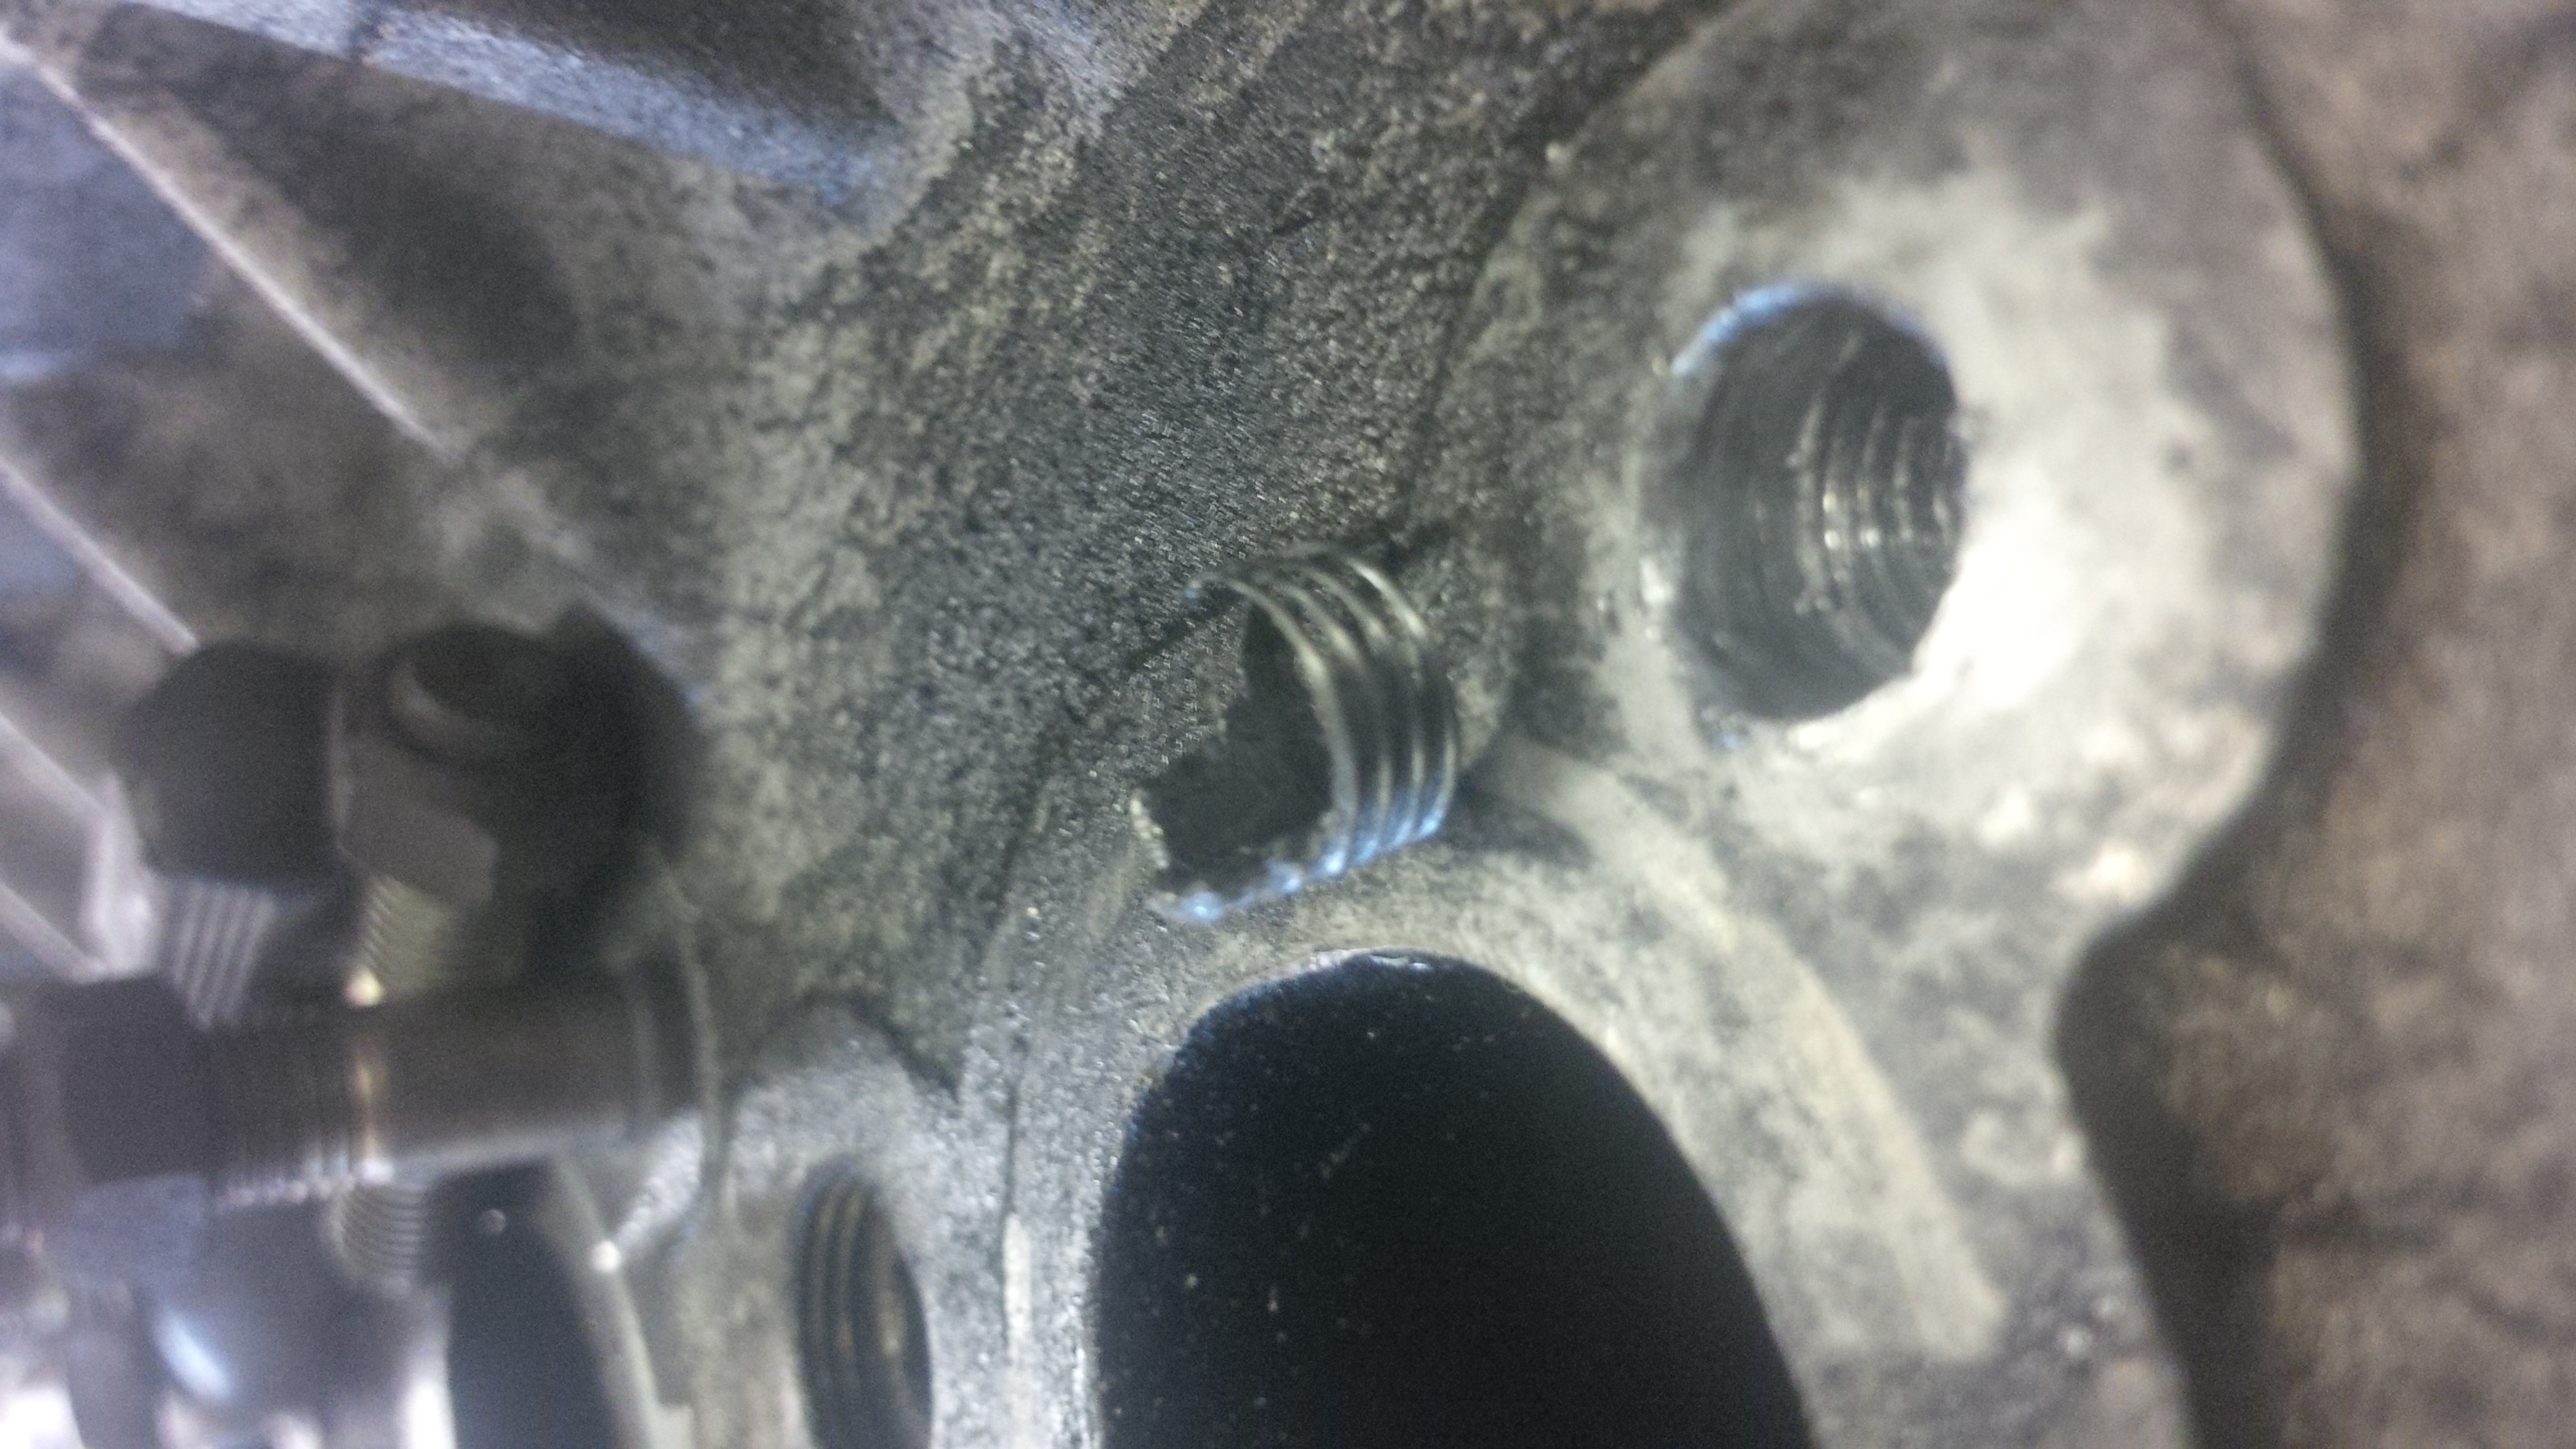
If there are no threads visable on the casting, then you can SLOWLY start cutting with the milling cutter which is the same diameter as the stud. All you are trying to achieve at this point is make sure the cutter is centralised properly, and give the broken stud a flat top. Drilling speed on a mill wants to be a maximum of 450rpm. On a drill, probably half that speed. At this point you should be able to tell if the stud is hardened or not. If the stud cuts ok, then continue with the next step. If not, then bring it to us! If there are threads visible, then go onto the next step and skip this one.
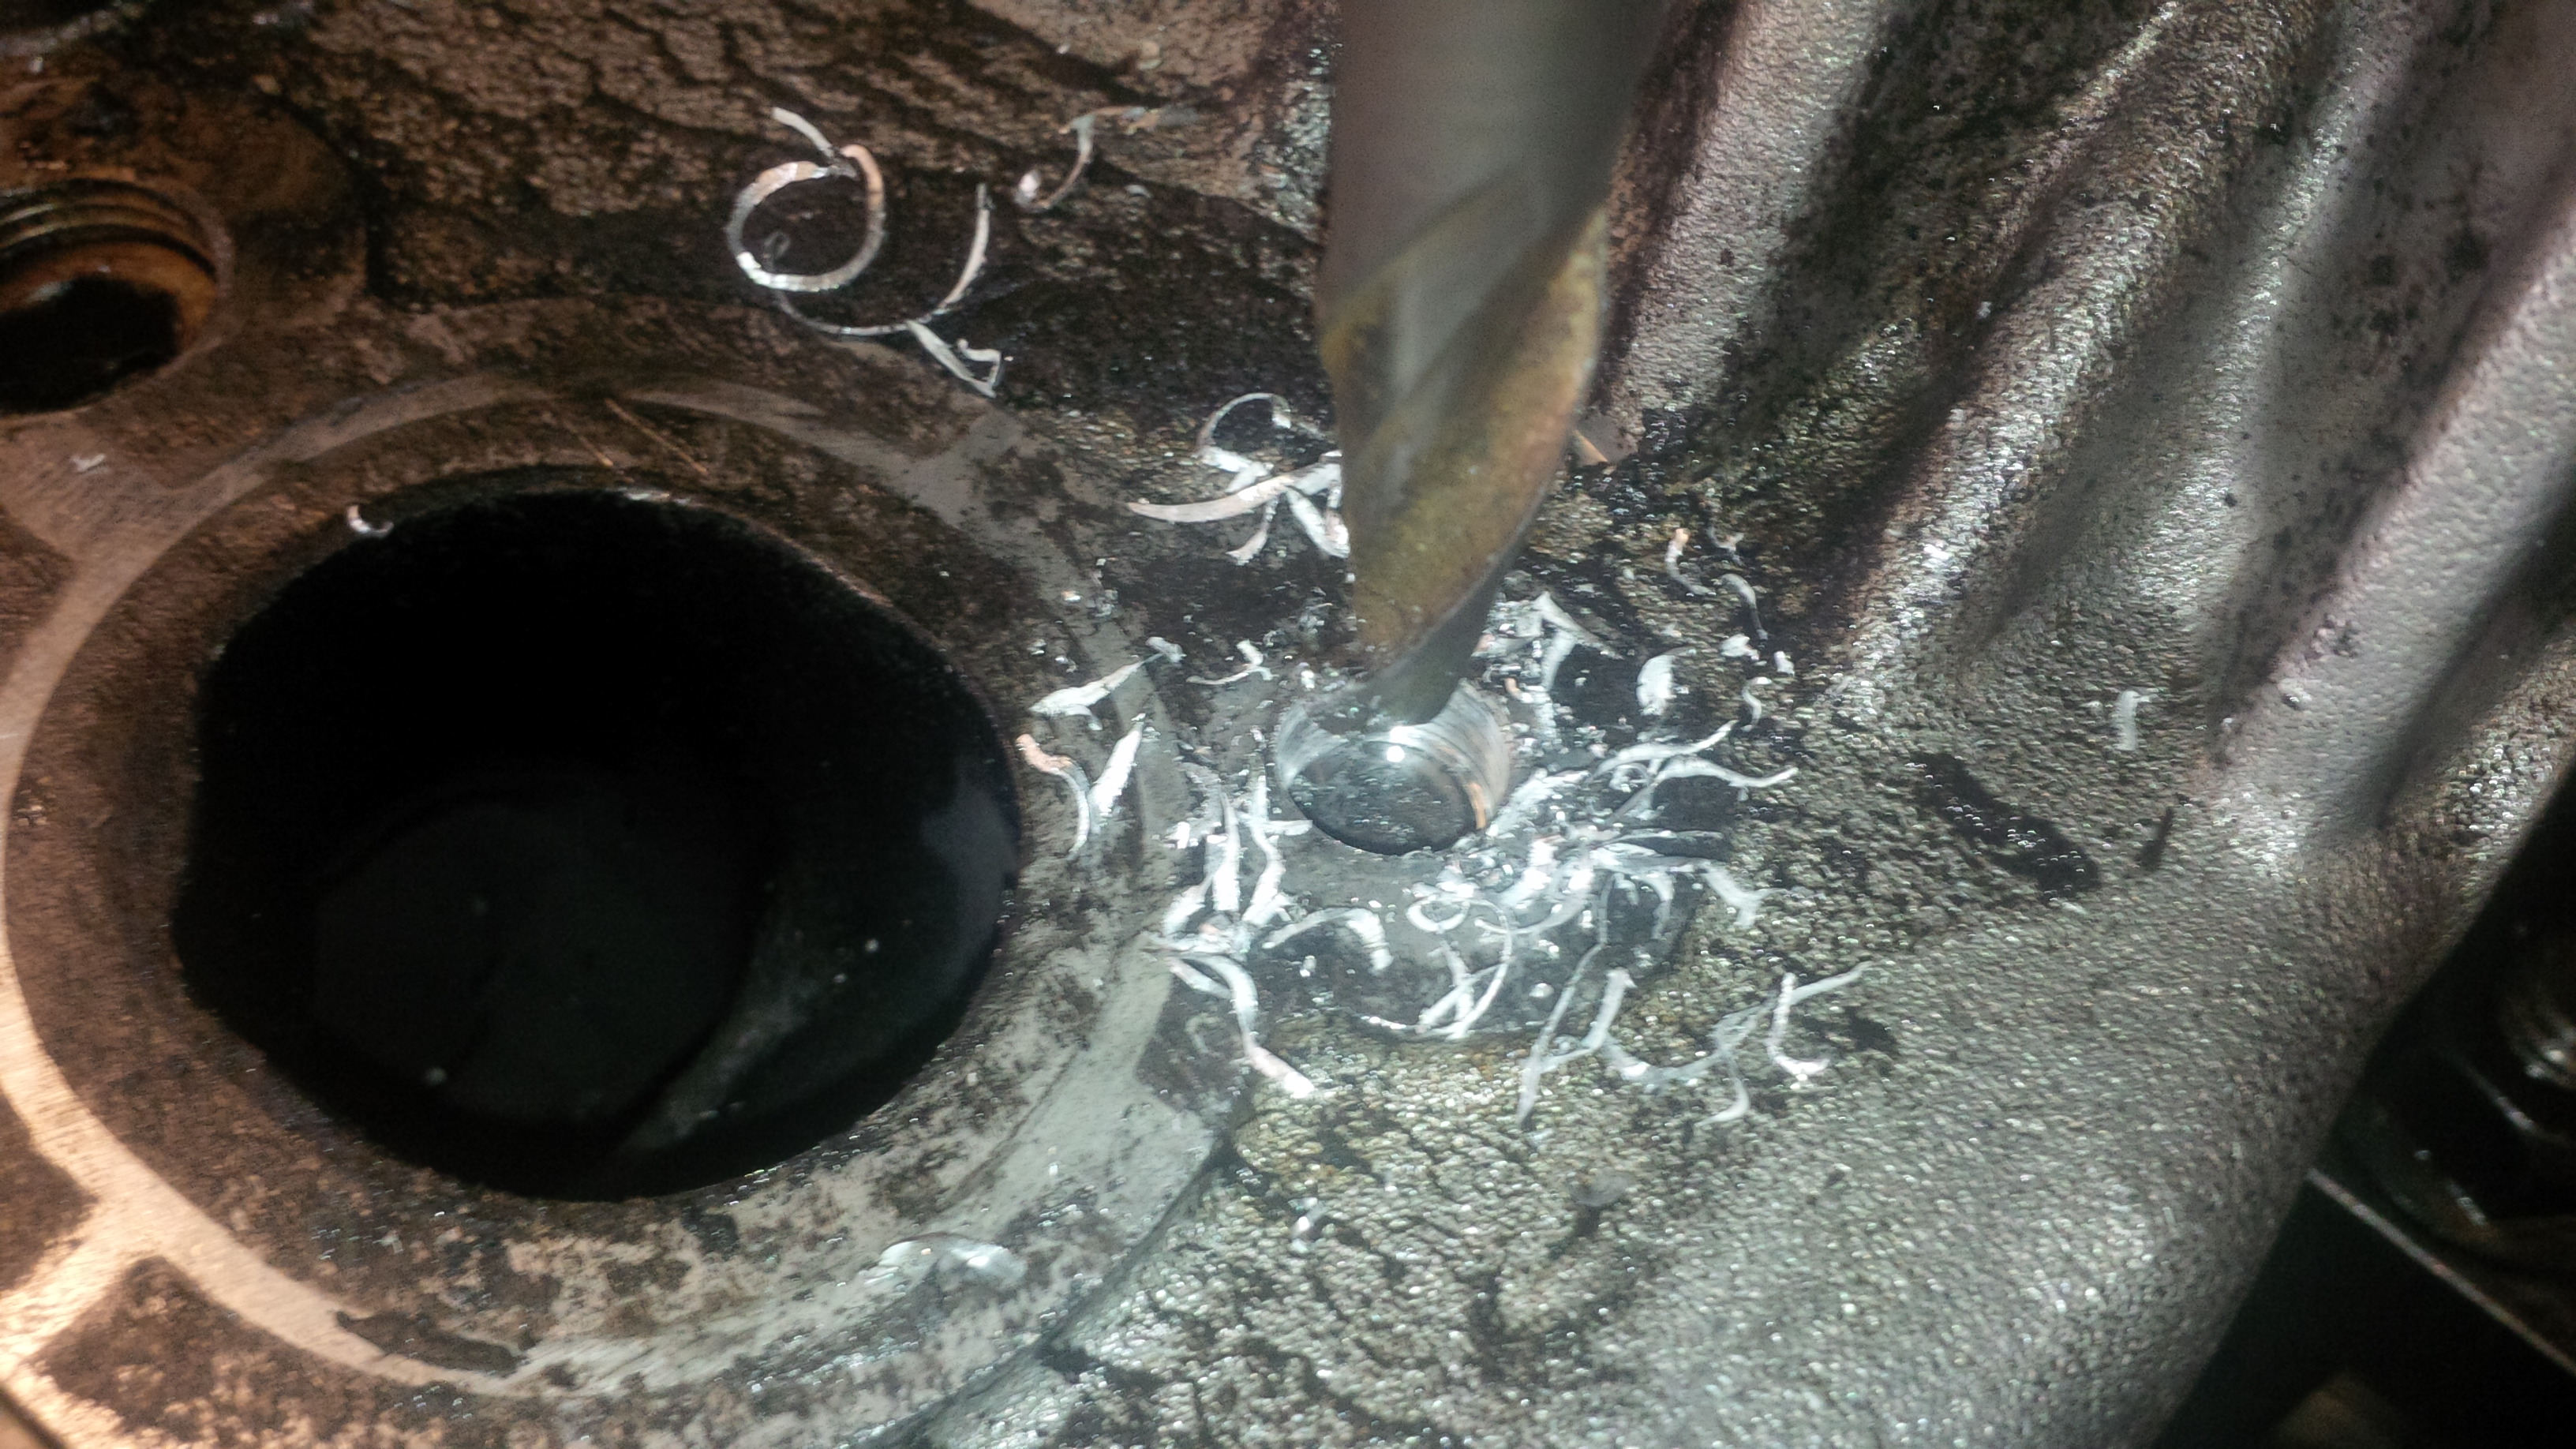
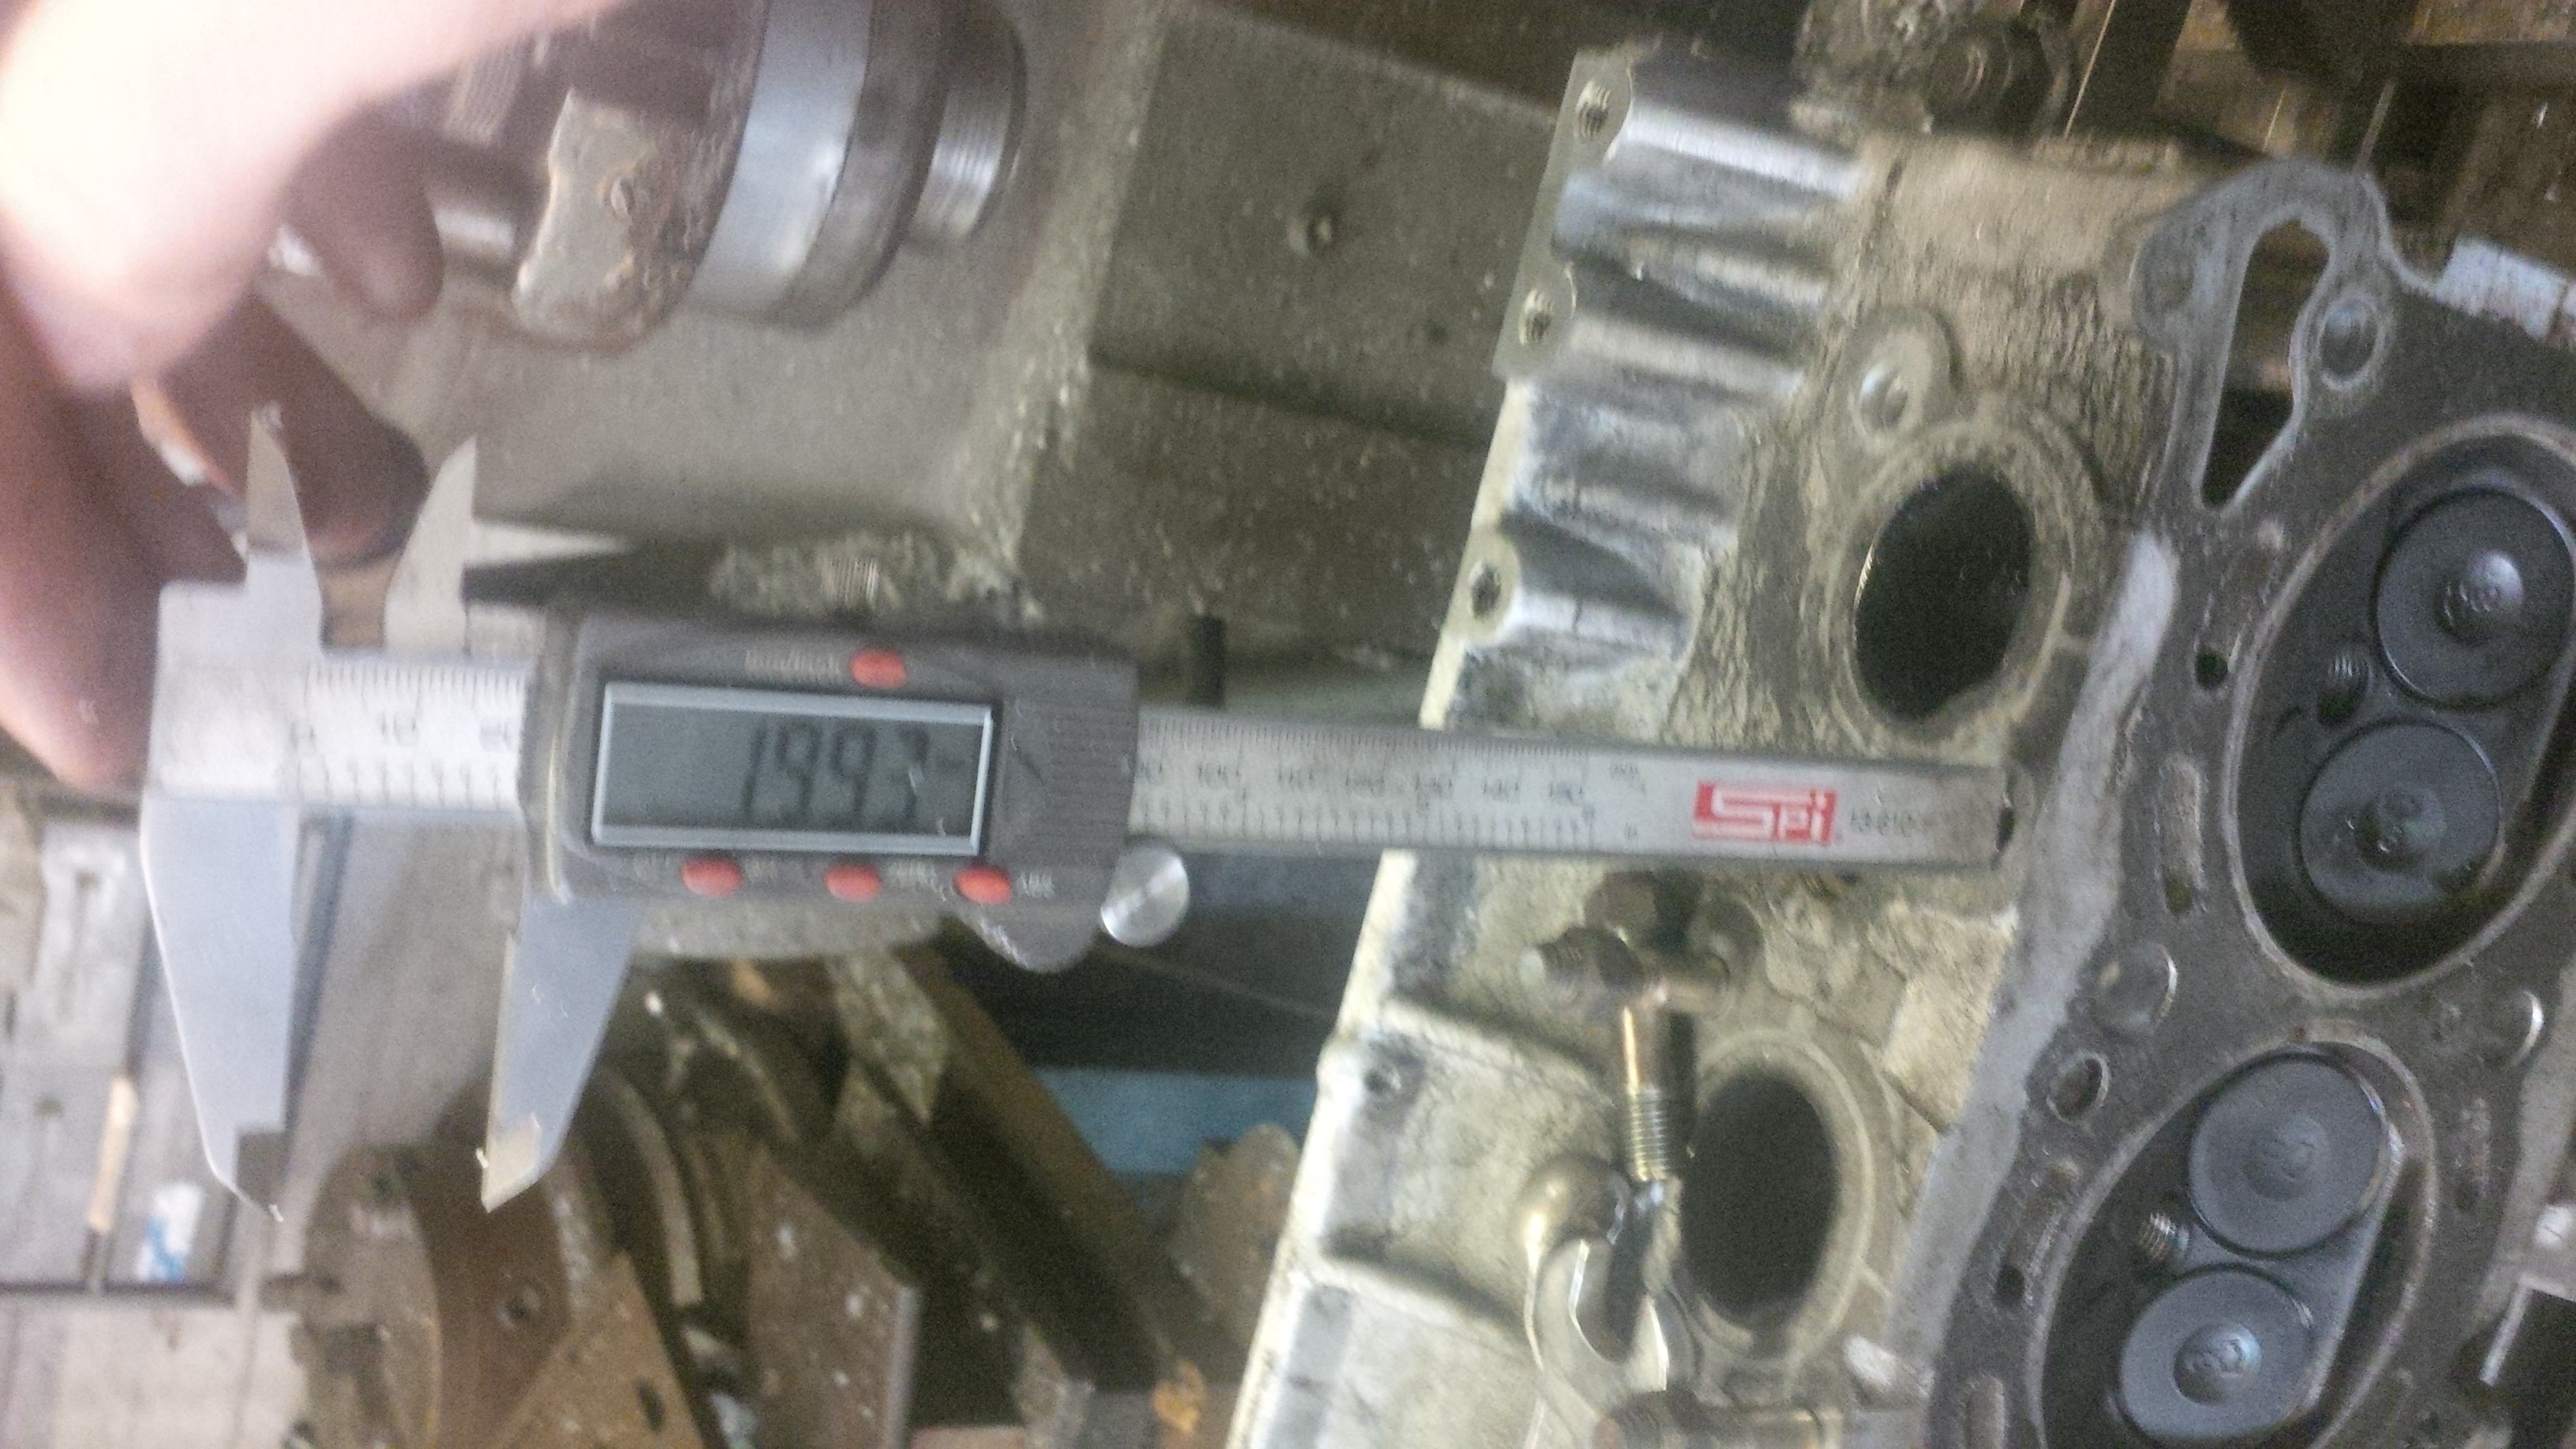
The next step is to change the cutter for a smaller one. The stud in this head was M10. Drilling size for an M10 tapped hole is 8.5mm, so wants to be a maximum of 8mm really. With gentle pressure, and the same speeds as above, continue to drill the stud, checking every couple of mm to make sure everything looks good. Once you get a reasonable hole started in the stud, you’re getting there!

At this point it is worth removing one or 2 of the other studs on the head, and checking the depth of the hole. Drilling right through the bolts and into the cylinder head could leave you with a bigger problem!
Once you are happy with the depth of the hole, continue drilling until there is a hole right through the bolt. WARNING!! It is quite common for the milling cutter to break as it cuts through the final part of the bolt, so be prepared and take it steady!

When you have a hole drilled right through the bolt, you should be able to hammer a chisel or screwdriver through the centre of it and unscrew it. The other option is to change the milling cutter for the correct sized tapping drill, drilling through the bolt and retapping the hole.
As long as most of the threads are still intact, you should be able to run a tap down the hole to clean up any damage. If there is excessive damage, then it is probably best to helicoil the hole while you have it set up in position.